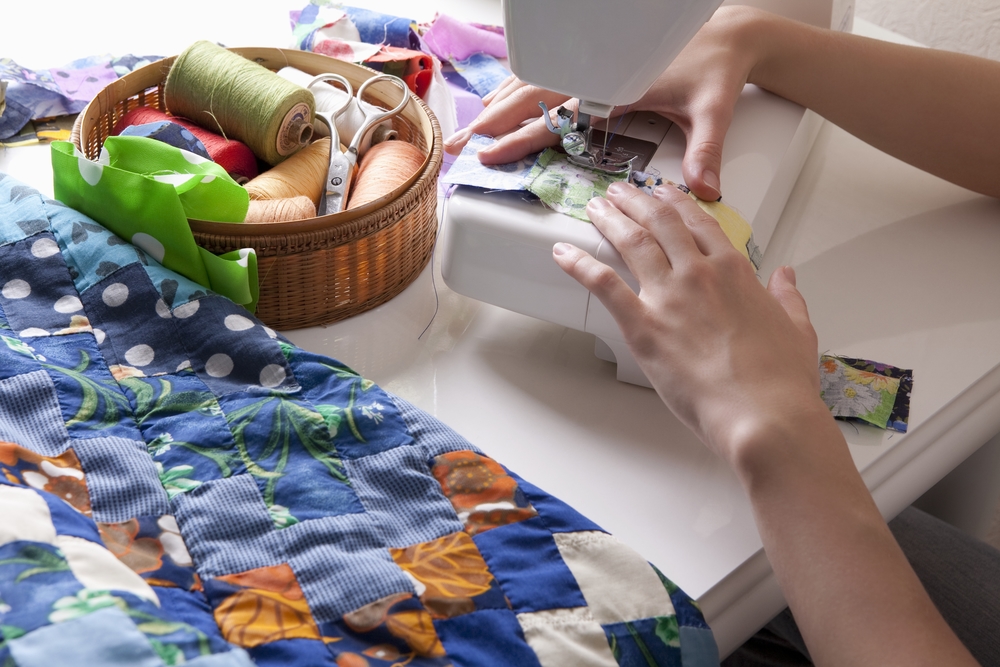
A serger has two of the many variables when it comes to stitching- width and density. What a serger does is it trims the seam and cuts off the edges of the fabric. In some ways, serging sheers can seem intimidating when you’re just a beginner. You can also read our newly published Singer Heavy Duty 4452 review.
The Main Reason To Use a Serger
The main reason why you may want to try a serger is for non-stretchy fabrics to deal with the raw edges that manual stitching may have trouble doing. In addition, a serger could speed up your sewing period by so much and make it more efficient.
A serger is capable of doing multiple functions all at once. An example of this is that it can finish an edge, sew a seam and trim unnecessary or excess fabric- all in one motion.
How Does it Differ From A Regular Sewing Machine?
In comparison to a regular sewing machine, a serger is faster and more efficient. The reason behind this is that a regular sewing machine only has one bobbin and one thread whilst a serger has 3-5 bobbins and 3-4 threads.
The Most Commonly Used Serger
The most popular and commonly used kind of serger would be the 3/4 serger. From the name itself, it could sew with 3 or 4 threads, which used to make the locked stitch.
Some Tips For The Serger Newbies
When starting off with a serger, there could be a few common challenges that could occur. The following are some things you need to be aware of in using the serger.
Avoid Puckered Seams
If you want to avoid puckered seams, it’s best to be wary on your needle size and choose the smallest needle best for your serger, which varies on your fabric weight. There are fabrics that are too soft which can cause an incapability to lie it down flatly. Choosing a seam with of 2 or less would be better, if this was the case.
Serged Seams Are Not Good
If you want to avoid serged seams from being present after pressing, on the other hand, you shouldn’t press directly on the seams. It’s also a recommendable to choice to try lighter-weight thread instead.
To avoid circumstances of skipped seams on sheer material, moisten the fabric edges with a small amount of water. However, this only applies to when the fabric is washable.
Serger Tips To Remember
When it comes to the serger itself, its best to use new needles to avoid any complications. You also have to check that the serger knives keen and cleansed before using it to ensure that all cuts are even, especially when it comes to light-weight fabric.
Before you start using the serger for an actual material, it’s best to test it on fabric scarps first to ensure the quality and function of the machine. You could also prevent the fabric from slipping by securing the thread chain once you begin to serge.
Use the Proper Type of Thread
When it comes to the thread, it’s best to use an all-purpose or nylon thread when serging. The reason for this is that it allows for additional expanse when stitching.
Also, in ensuring the stability of the thread, it’s crucial to test the tension of a thread before construction. This helps in making sure that the thread is strong enough.

